VueRouter v4.x
싱글페이지 애플리케이션을 구현할 때 사용한다.
어떤 경로의 요청이 들어왔을 때
어떤 컴포넌트를 렌더링 해라
하는 그런 매칭 정해주는 것.
router 설치
npm i vue-router
일단 router를 만들어줘야 한다.
@/router/index.js
import { createRouter, createWebHistory } from 'vue-router';

import HomeView from '@/views/HomeView.vue';
import AboutView from '@/views/AboutView.vue';

const routes = [
	{
		path: '/',
		component: HomeView,
	},
	{
		path: '/about',
		component: AboutView,
	},
];

const router = createRouter({
	history: createWebHistory('/'),
	routes,
});

export default router;
router use
import router from '@/router';

createApp(App).use(router).mount('#app');
보여주는 부분은 RouterView
교체 되어야 하는 컴포넌트의 위치에 가서…
여기서는 TheView.vue 파일로 가서
<template>
	<main>
		<div class="container py-4">
			<RouterView></RouterView>
		</div>
	</main>
</template>

<script setup></script>

<style lang="scss" scoped></style>
RouterView 라는 태그를 쓰면
Router를 사용할 수 있게 된다.
링크를 옮길 때는 RouterLink
<RouterLink class="nav-link active" to="/">Home</RouterLink>
a 태그 쓸 곳에 위와 같이 RouterLink를 사용하면 된다.
a 태그와의 차이는..
a태그는 페이지 리로딩이 됨.
RouterLink 태그는 페이지 리로딩이 되지 않음.
app.use(router) 에 관하여
app.use(router) 를 사용함으로써
모든 자식 컴포넌트에선 router, route 객체를 사용할 수 있음.
- router : 페이지 이동할 수 있게 함
- route: 페이지 정보
route
<p>{ { $route.path } }</p>
위와 같이 사용하면 경로 정보를 가져올 수 있다.
<script setup>
	import { useRoute } from 'vue-router';

	const route = useRoute();
	console.log(route.path);
</script>
위와 같이 사용하면 route 에대한 정보를 가져올 수 있다.
router로 페이지 이동
<button class="btn btn-primary" @click="$router.push('/')">
	홈으로 이동
</button>
위와 같이 사용하여 버튼을 눌렀을 때 홈으로 이동시킬 수 있고
<button class="btn btn-primary" @click="goAboutPage"> 어바웃으로 이동 </button>
<script setup>
	import { useRouter } from 'vue-router';

	const router = useRouter();
	const goAboutPage = () => {
		router.push('/about');
	};
</script>
이렇게 함수로 사용할 수 있다.
이름 설정하기
const routes = [
	{
		path: '/',
		name: 'Home',
		component: HomeView,
	},
	{
		path: '/about',
		name: 'About',
		component: AboutView,
	},
];
이렇게 name을 설정하고 route 객체에서 name을 가져다 쓸 수도 있다.
active class
<RouterLink class="nav-link" active-class="active" to="/">Home</RouterLink>
active class 속성을 주면
해당 링크 클릭 했을 시 class를 추가해줄 수 있다.
선택된 페이지를 알려줄 수 있음.
동적 라우팅
router/index.js 에 가면
{
		path: '/posts/:id',
		component: PostDetailView,
},
위와 같이 : 을 붙여주면
예를들어 usr/alice usr/bruce usr/david
이런 url에 대해서 똑같은 컴포넌트에서 내용만 다르게해서 보이고 싶다면…
그 달라지는 값만 : 을 붙여서 표현해주면 된다.
그러면 사용은 다음과 같이 된다.
예를 들어 url http://127.0.0.1:5173/posts/13123
에 접근했을 시
해당 페이지에서 { { $route.params } } 로 위의 객체를 가져올 수 있다.
결과 : { “id”: “13123” }
이와 다르게 페이지별 동적 라우팅 주는 방법이 2가지가 더있다.
위의 방법을 params 라고 하고
- query url?변수명=변수값
- hash url#해시값
이렇게 사용하면
해당 페이지에서
{ { $route.query } }
{ { $route.hash } } 이렇게 해서 가져올 수 있다.
const goPage = id => {
	// router.push(`/posts/${id}`);
	router.push({
		name: 'PostDetail',
		params: {
			id,
		},
	});
};
page 이동 방법
위와 같이 name을 지정해서 params 를 같이 사용할 수도 있다 객체 형식으로…
사용법 정리
// 리터럴 문자열 경로
router.push('/users/eduardo')

// 경로가 있는 객체
router.push({path : '/users/eduardo'})

// 이름을 가지는 라우트
router.push({name: 'user', params:{ username: 'eduardo' \}\})

// 쿼리와 함께 사용, 결과적으로 /register?plan=private가 됨.
router.push({path: '/register', query: {plan: 'private'\}\})

// 해시와 함께 사용, 결과적으로 /about#team 이 됨.
router.push({path: '/about', hash: '#team'})
라우터를 사용한 detail page 버튼 구현
<template>
	<div>
		<h2>제목</h2>
		<p>내용</p>
		<p class="text-muted">2022-08-23</p>
		<hr class="my-4" />
		<div class="row g-2">
			<div class="col-auto">
				<button class="btn btn-outline-dark">이전글</button>
			</div>
			<div class="col-auto">
				<button class="btn btn-outline-dark">다음글</button>
			</div>
			<div class="col-auto me-auto"></div>
			<div class="col-auto">
				<button class="btn btn-outline-dark" @click="goListPage"
					>목록</button
				>
			</div>
			<div class="col-auto">
				<button class="btn btn-outline-primary" @click="goEditPage">
					수정
				</button>
			</div>
			<div class="col-auto">
				<button class="btn btn-outline-danger">삭제</button>
			</div>
		</div>
	</div>
</template>

<script setup>
	import { useRoute, useRouter } from 'vue-router';

	const route = useRoute();
	const router = useRouter();

	const id = route.params.id;

	const goListPage = () => router.push({ name: 'PostList' });
	const goEditPage = () => router.push({ name: 'PostEdit', params: { id } });
</script>

<style lang="scss" scoped></style>
404 페이지 컴포넌트
기본적으로 router 매칭할 때 사용하는 문법은 정규표현식 regex를 사용하므로
matching 규칙도 regex를 사용할 수 있다.
{ path: '/:pathMatch(.*)*', name: 'NotFound', component: NotFoundView },
위와 같이 설정해서 component 연결해주면 됨!
중첩된 Route
실제 컴포넌트 구조는 중첩된 구조로 들어가게 됨
공통된 영역은 고정시킴
url에 맵핑된 컴포넌트를 RouterView안에 보여주고 있음.
어떤 경우에는 child 안에서 또 특정 영역만 재렌더링 시키고 싶다면??
중첩된 UI Nested를 만들어보자
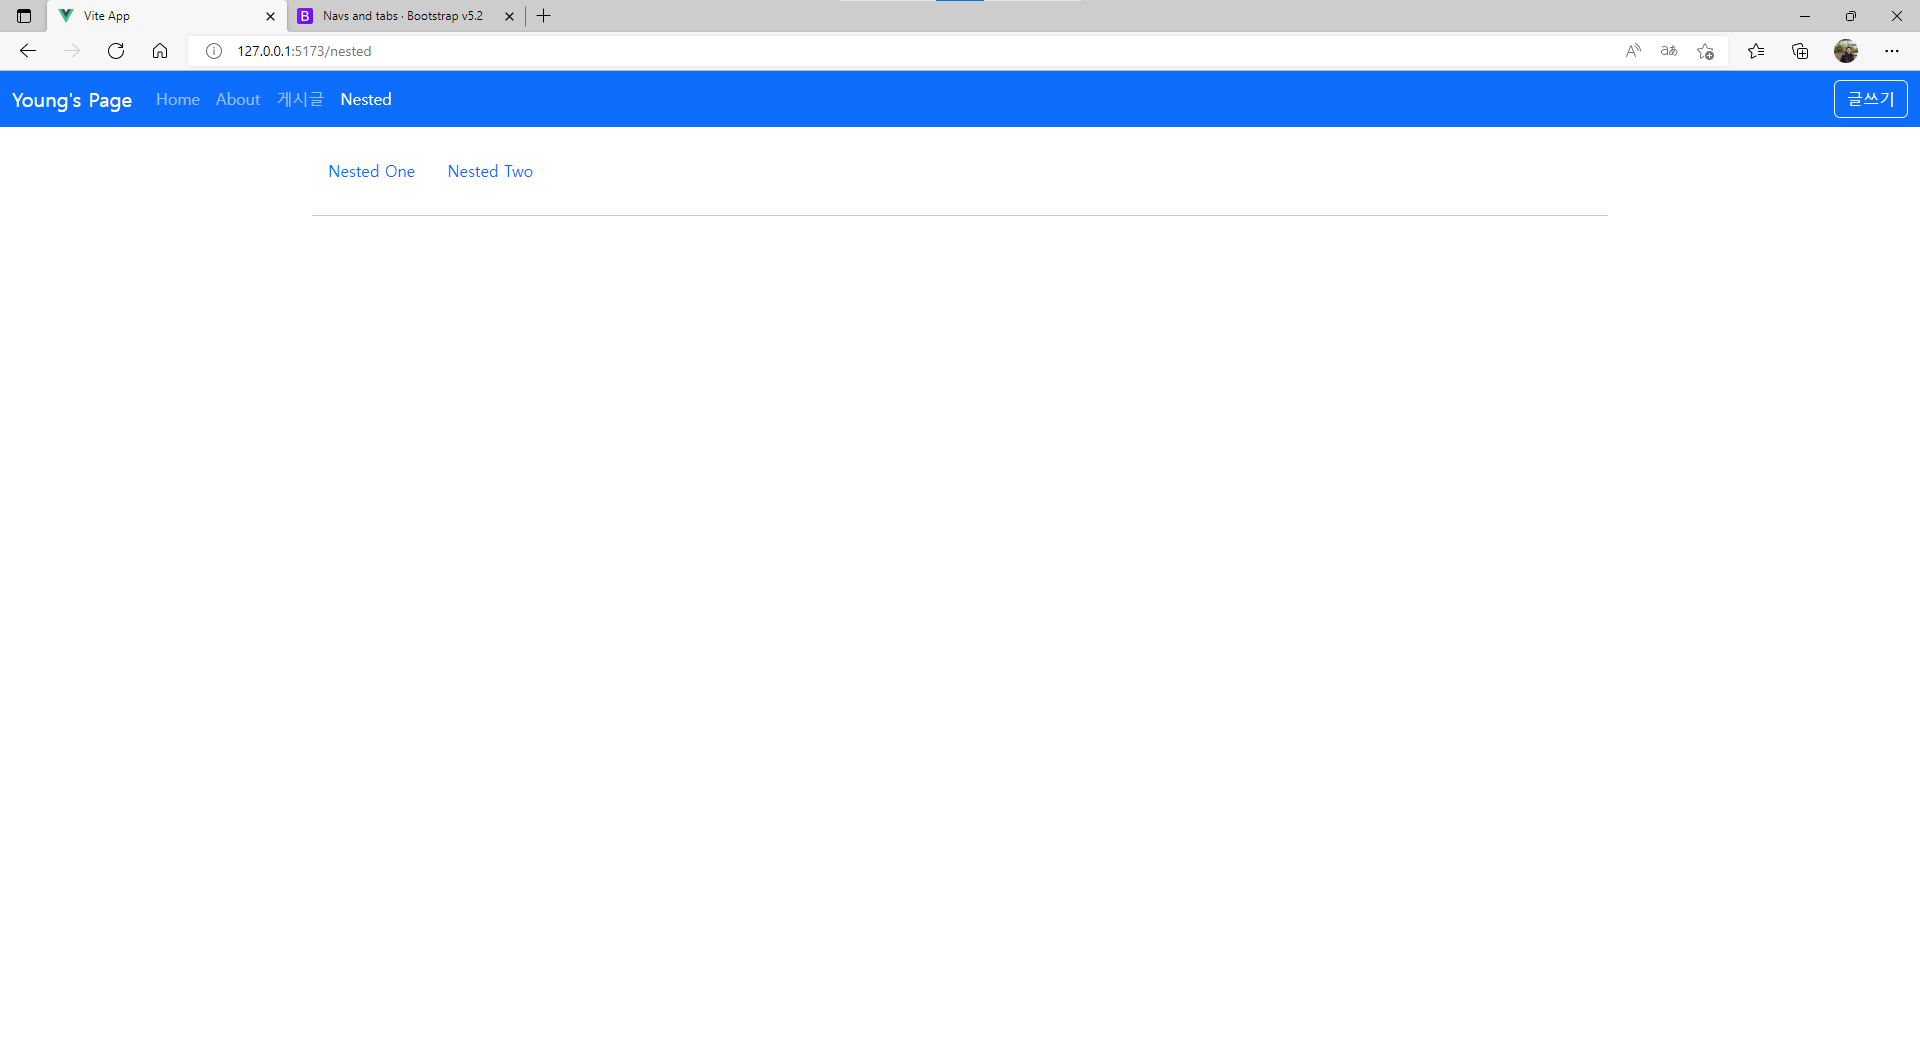
위의 화면에서 NestedOne과 Two 를 선택함에 따라
아래 content를 달리하고 싶다면..
// route/index.js
{
		path: '/nested',
		name: 'Nested',
		component: NestedView,
		children: [
			{
				path: 'one',
				name: 'NestedOne',
				component: NestedOne,
			},
			{
				path: 'two',
				name: 'NestedTwo',
				component: NestedTwo,
			},
		],
	},
라우팅 js 부분에 children 을 세팅해주면 된다 이게 핵심임 그리고.. 실제 라우팅되어야하는 부분을
<template>
	<ul class="nav nav-pills">
		<li class="nav-item">
			<RouterLink
				class="nav-link"
				active-class="active"
				:to="{ name: 'NestedOne', replace: true }"
				>Nested One</RouterLink
			>
		</li>
		<li class="nav-item">
			<RouterLink
				class="nav-link"
				active-class="active"
				:to="{ name: 'NestedTwo', replace: true }"
				>Nested Two</RouterLink
			>
		</li>
	</ul>

	<hr class="my-4" />
	<RouterView></RouterView>
</template>

<script setup></script>

<style lang="scss" scoped></style>
라우팅 결정해주는 곳을 위와 같이 이름으로 설정해준다.
그러면 그에 맞게 컴포넌트가 교체되는 것을 볼 수 있다.
replace
router.push 말고 router.replace 를 사용하면
history를 사용하지 않고 라우팅을 변경할 수 있다.
사용방법은 다음과 같다.
<RouterLink
	class="nav-link"
	active-class="active"
	:to="{ name: 'NestedOne', replace: true }"
	>Nested One</RouterLink
>
위와 같이 replace: true 로 설정해주면 됨
아니면 router.replace(‘url’) 이렇게도 쓸수 있을걸?
router 에서의 데이터 전달
-
ref : 객체 할당 가능 form.value 안에다 넣어야 함
-
reactive 단점 객체할당 불가능 장점 그냥 곧장 접근 가능하게